
Painting a Chest of Drawers: A 6-Stage Process
Our lives revolve around our furniture. Whether it’s the bed we sleep in or the dining table where we commune with our loved ones or the couch we love to take an afternoon nap on, our furniture means a lot to us. That explains why at one point or another, many people have thought of sprucing up their furniture.
It could be through refinishing, resurfacing, or even repainting, along with many others. Well, one of the iconic ways that can transform any piece of furniture from 0 to 100 is repainting. As such, even though there are hundreds of ways to refinish your furniture, I’m going to cover the furniture paint process in this piece.
Note that this instruction only applies to actual wood furniture; I’ll cover painting laminate at a later date. Let’s get this party started.
6 Vital Stages to Painting Furniture Successfully
Stage 1: Preparation
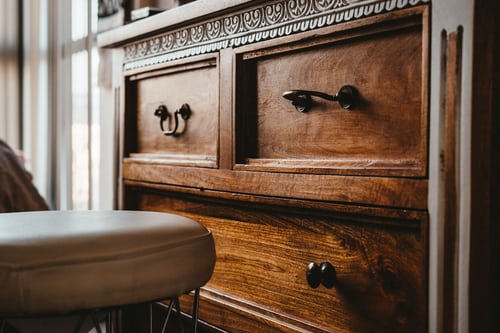
Prepare your piece of furniture first. It’s not enough to apply a coat of paint and call it a day. It’ll peel and chip, and it won’t last long. Before I paint something, I like to give it a thorough cleaning (Of course, after removing the hardware), especially if it’s been lying in a dusty garage or storage room for a long time.
For this, Murphy’s Oil Soap will do. It works well and is furniture-safe. Remember to also disassemble all parts say, all of the drawers so that you can work on them separately.
Stage 2: Sanding
Sand your furniture to remove all of the glossy sheens so that the paint can “grab” onto it. Sandpaper with a medium grain should suffice. I however recommend fine-grit sandpaper in between paint coats.
There’s no need to remove the finish or sand it down to bare wood if you’re painting rather than staining. It is sufficient to just remove the glossy finish. You can omit this step if the surface is already dull.
Stage 3: Making a Primer
After your furniture has dried and is dust-free, apply primer. This improves the adhesion of the paint to the object and hides any stains or discolorations in the wood. KILZ Primer is my favorite, and they also make a spray version (I haven’t tried it yet but plan to since I’ve heard nothing but good things about it). Oil-based primer is also amazing for furniture.
Stage 4: Sanding Again
Again, sand some more! Lightly sand your artwork between each application of paint with fine-grit sandpaper. This gives you a much more professional and consistent finish. Make sure to clean up any sanding dust with a tack cloth each time.
Stage 5: Painting
Having primed and prepared your piece, it’s now time for the transformation! I usually prefer interior latex paint on furniture, usually in a semi-gloss finish. Anything with a non-flat finish, however, will be a good choice. (Flat finishes expose every fingerprint and defect, and cleaning it will be more difficult.)
The glossier the paint, the easier it is to clean. Paint thin layers and, again, sand in between each one! If you want to attain an even finish, this step is critical. I usually use 2-3 coats in total.
There are a few distinct approaches to painting. You could use a roller, brush, paint sprayer, or even conventional spray paint (as long as it’s a good brand! ). I normally paint the main areas of the furniture with a tiny foam roller and the hard-to-reach nooks with a brush, starting with the crevices. The roller aids in the elimination of obvious brush strokes.
Step 6: Curing and Protecting
Once the last coat of paint has cured for at least 24 hours, you may seal it. (Alternatively, you can let it alone for around 30 days to cure.) But seriously, if you’re going to do this, leave it alone and don’t touch it!. Sealing your furniture adds added protection to the finish while also making it wipeable and easy to clean.
If you’re painting with white or a very light color, I strongly advise against using polyurethane to seal your finish. It turns yellow over time. It should work with any other paint color, and I recommend Minwax Wipe-On Poly because it is so simple to use. (The Satin finish is one of my favorites.)
However, I prefer a water-based finish like Minwax Polycrylic. It’s less messy to clean up, and there are fewer fumes. Furniture wax is another alternative that I like and that can be used on any hue, including whites. Minwax Finishing Wax is particularly fantastic, and I’ve heard positive things about other brands too.
It’s as simple as wiping it on (I use cheesecloth), letting it dry for 10-15 minutes, and buffing it with a clean cloth until it’s as shiny as you want it. This is the look I went for on my dresser. I recommend leaving your furniture alone for a day or two after sealing it before using or handling it. It would be a pity to jeopardize all of that hard work by dealing with it too soon!
Wind Up
Following these 6 stages to the latter, even you can be a pro! Simply wait for your 30 days and add your hardware and you’re done! If you want, you can distress the item or just leave it as is. Paint has an incredible ability to transform any old piece of furniture. Give it a shot today!